This quick guide on how to get started with your teaching website will help you build your business and boost your brand. Your teaching business is definitely something to shout about! The following 5 simple and easy steps will guide you through how to produce your own customised website to promote your educational and creative online courses or in-person workshops.

You may be wondering, but why do I need to build a teaching website? There are many advantages to having a branded teaching website. Not only can you refine your brand and market your courses, your teaching website can also be used to take bookings and post informative updates about your classes.
There are a number of different website builders you can use to create your site, all with their own benefits and draw-backs. However, there is only one builder that brings all the best benefits together. The Obby teaching platform and website builder have all you need to take the 5 steps below.
5 steps to build your Teaching Website
- Decide on your teaching format
- Choose registration / payment process
- Build brand & website pages
- Integrate with Marketing Tools
- Tell the world!
1. Decide on your teaching format
In-person classes, live online courses, pre-recorded workshops, learning kits or all of the above? There are many formats under which you can teach and students can learn from you. Here are some of the teaching formats teachers can choose from!
In-person Classes
- The most obvious teaching format is in-person classes, where students can learn in an inspirational environment and atmosphere under your watchful eye.
- In-person classes are great for teaching, and many students would swear by in-person learning as the most productive, especially when it comes to learning particular skills using particular tools and materials.
Online Classes
- There are thousands of teachers who have found success teaching online. Since the pandemic, live online and pre-recorded classes have become very popular.
- There are many features, tools and platforms teachers can use that will make distance learning interactive and engaging for students. Teachers can host online classes either live via a software like Zoom or Skype, or teachers can create pre-recorded videos which are purchasable online.
- This format of teaching is very well suited to many students who want to learn in their own time, at their own pace and in their own space!
Learning Kits
- What often comes with these formats, but can also be a teaching format of it's own, is the learning kit - a collection of materials, tools and guidelines put together by you the teacher, and sent to the student to learn in their own time.

Deciding which format is best for you is a case of trial and error. You may be a creative who commissions pieces on the side, or as their main business. In this case, in-person classes may suit you best as you can really connect with your students and let them see a real studio space.
However you may curate and sell the best materials and tools on the side or as your main business, and in this sense, online classes and learning kits may suit the day to day running of your businesses better.
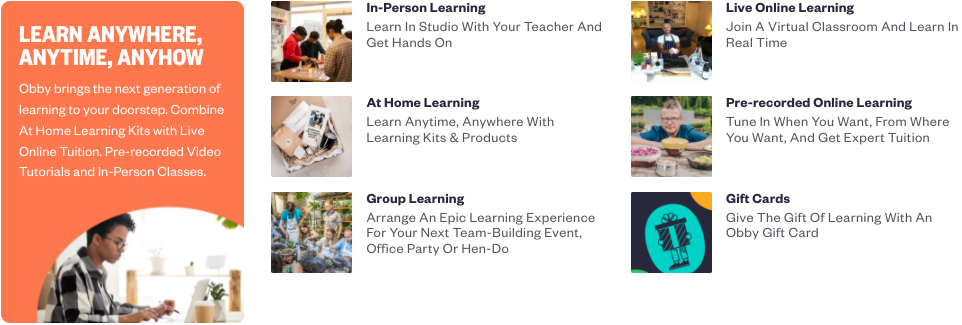
No matter your teaching style or format, Obby helps all teachers build their teaching website, organise their bookings and market their teaching business!
With Obby, teachers can run online classes using Obby's virtual classroom and Zoom integration. Their virtual classroom also allows teachers to share pre-recorded class content. Mainly run in-person classes? Obby has helped thousands of teachers manage and organise their in-person workshops, classes and courses.
2. Choose registration / payment process
Once you've decided on your format and content for teaching, you'll need to decide how you want to register students and take payment for classes on your teaching website.
Staying offline, keeping a student spreadsheet and taking payments via bank transfer may seem like a quick and easy way to get started, but it actually takes up too much time.

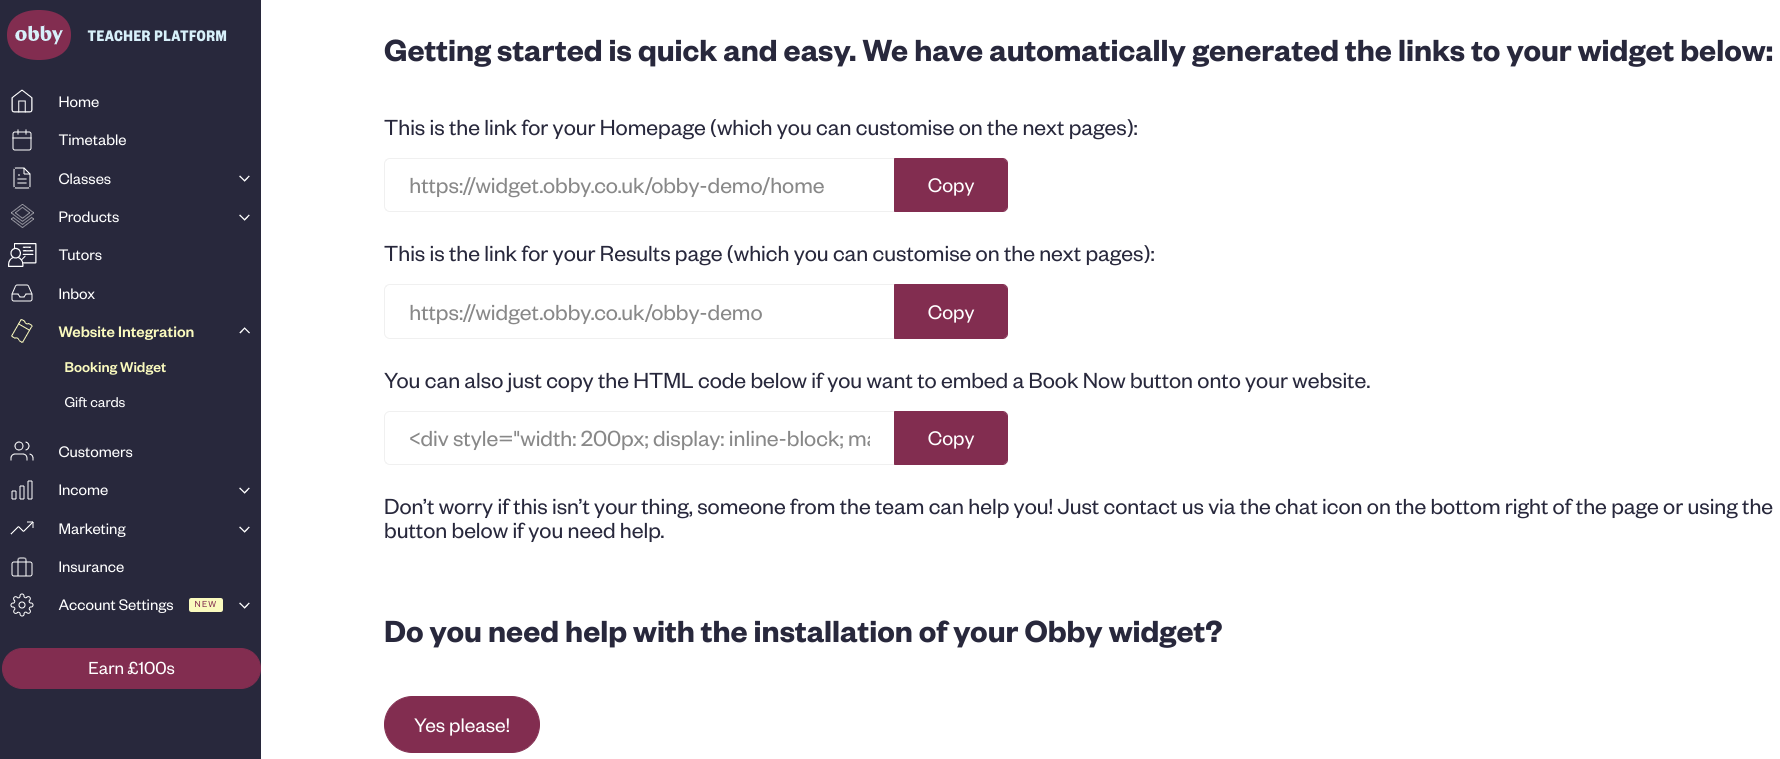
If you're not very tech savvy this may still seem like the simplest option, however, platforms like Obby offer demos and on-boarding calls (as seen in the image below) to make sure you understand how to use their online software, which does the same thing via their website builder platform.
Many website builders have additional software add-ons to manage your register and take payments online. For example, Squarespace Scheduling allows you to take bookings for classes around your schedule, and allows you to connect to a payment processor of your choice, this works particularly well for 1-1 classes in-person or live online workshops. However, this doesn't work so well with timetabled group classes.
This is where Obby comes in. Obby allows you to take bookings around your schedule, and manage timetabled group classes, all while taking secure payments via their integrated Stripe payment system (so you don't need to worry about the set-up!).
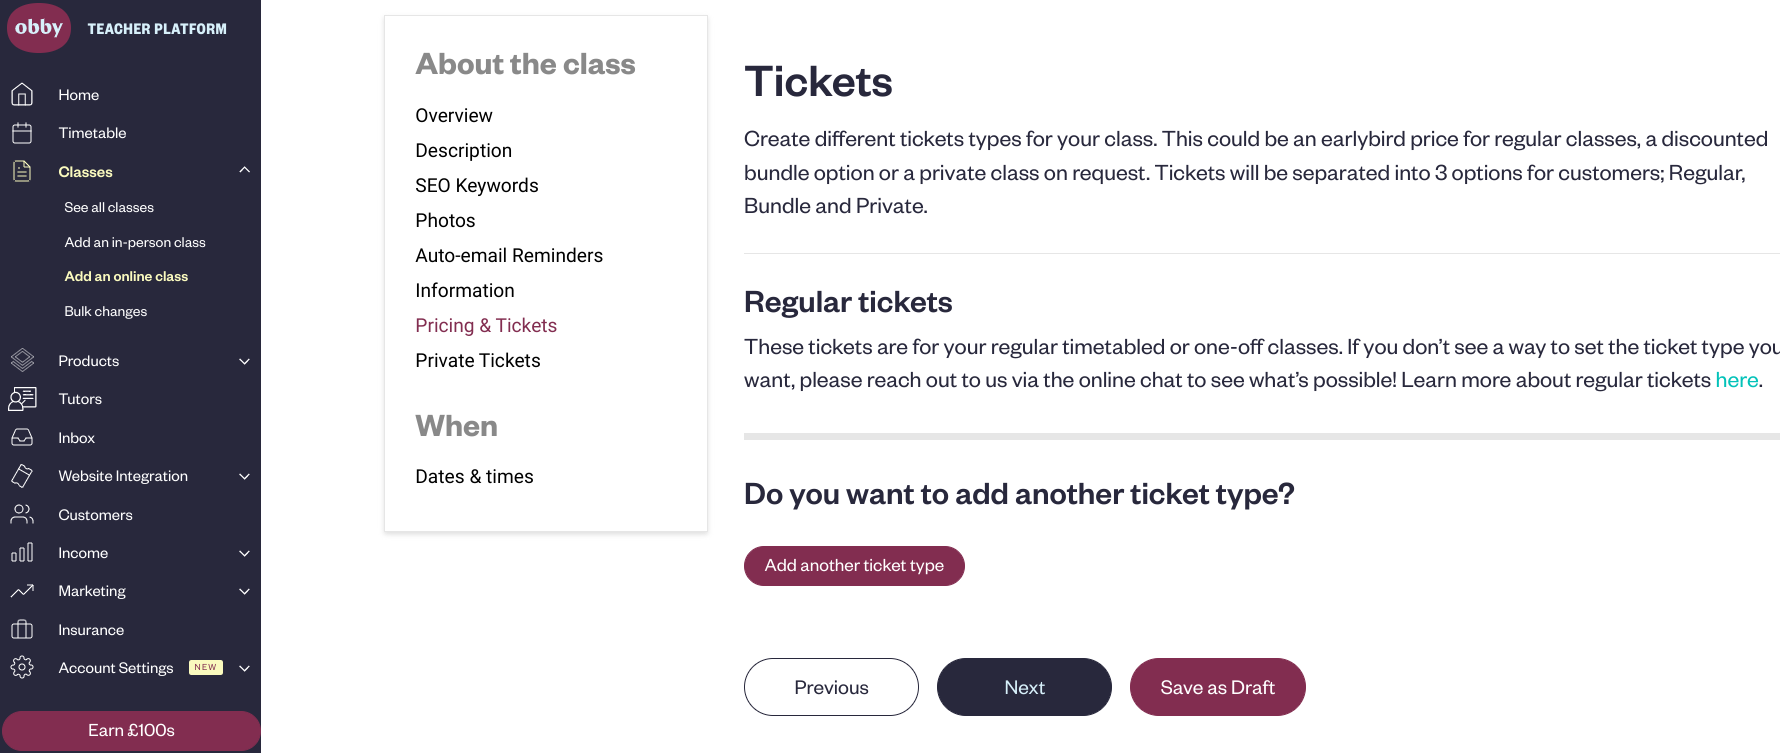
As well as taking payments securely, teachers can also track their income using Obby's user-friendly all-in-one booking system and teaching platform. Just to top it off, Obby also makes adding tickets and prices to classes seamless and straightforward.
3. Build brand & website pages
The next step when building your teaching website is to build upon your brand and create website pages that will interest and keep the attention of potential students. Website builders like Wix, Squarespace and WordPress all offer easy ways to build professional looking pages, giving you the flexibility to choose the fonts, colours and styling of your website.
Another option is a website builder like Obby that takes away the hassle of designing your web pages, and does this for you.
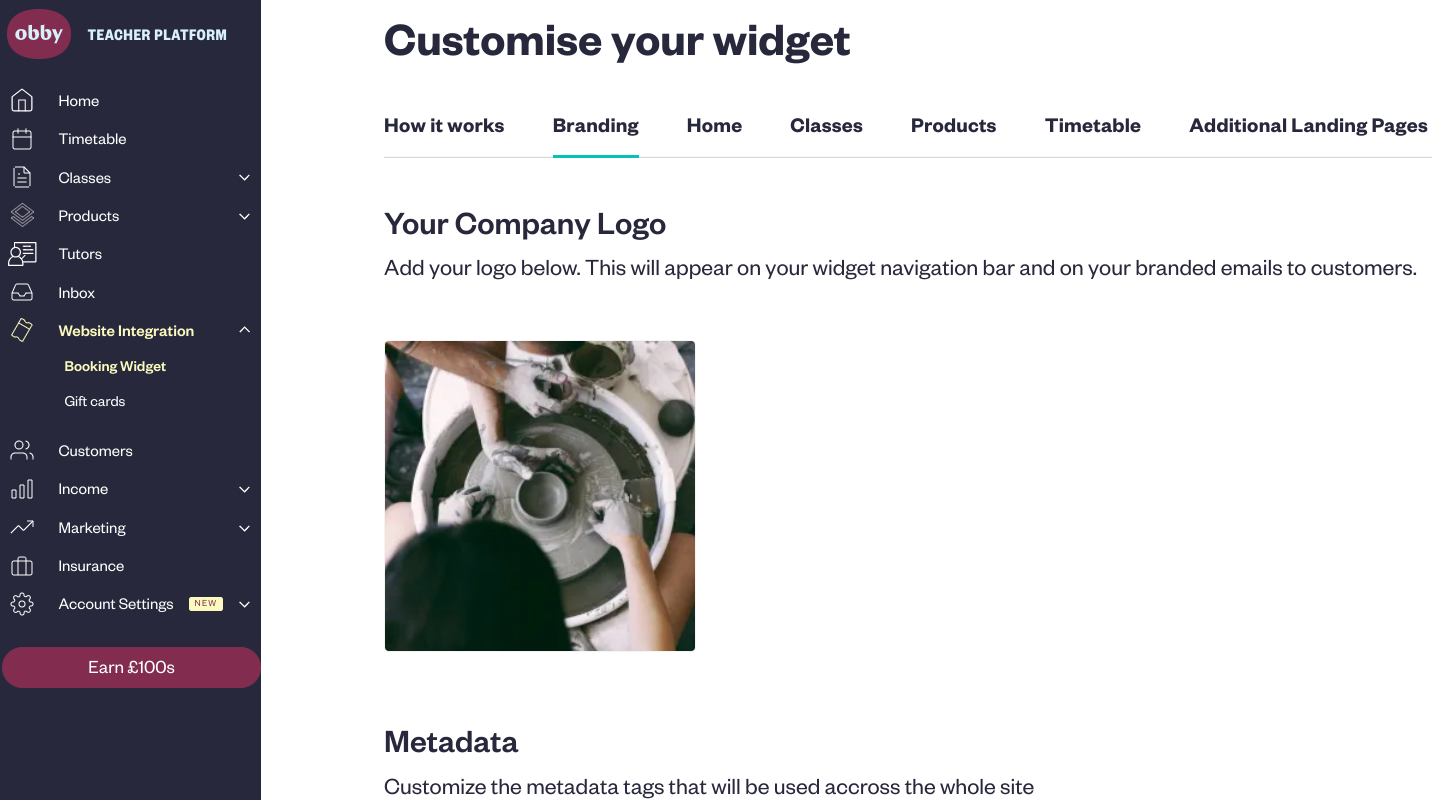
As shown here, Obby's website builder takes you through each step in the process of making your own fully branded website. From your homepage to your timetable, Obby can help you build each website page effortlessly.
The designers and researchers at Obby have built pages that are tried and tested to market and sell your classes to your target audience, in a user friendly way. All you have to do is add in the content and they will do the rest.
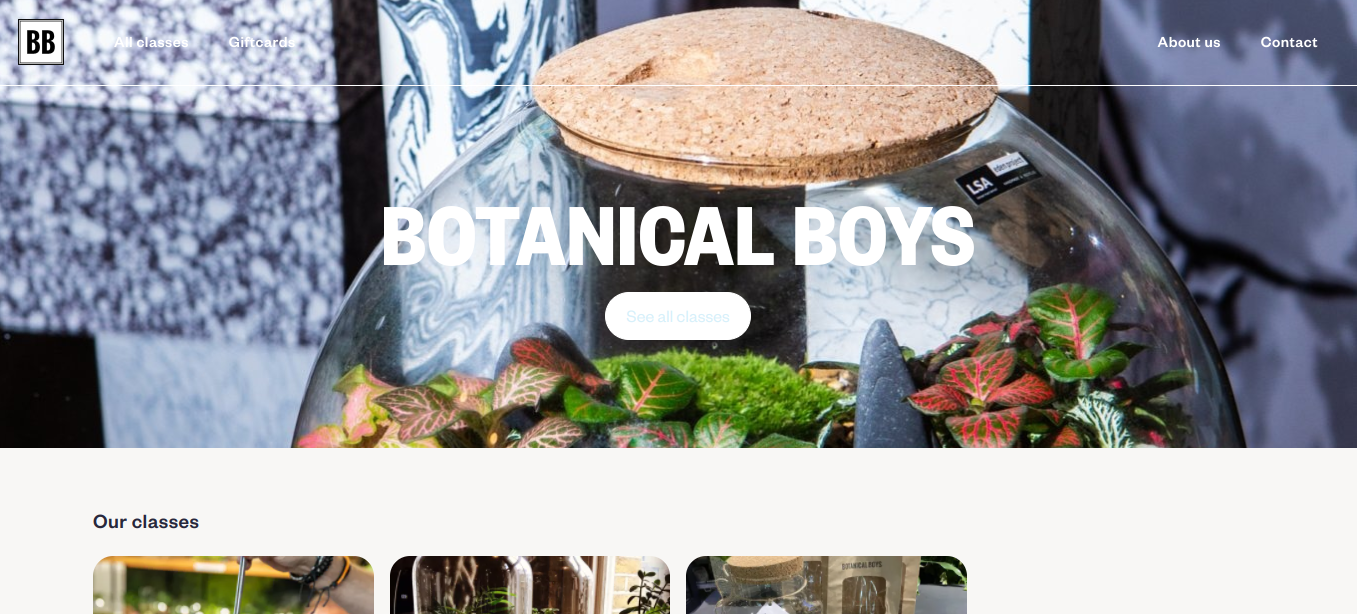
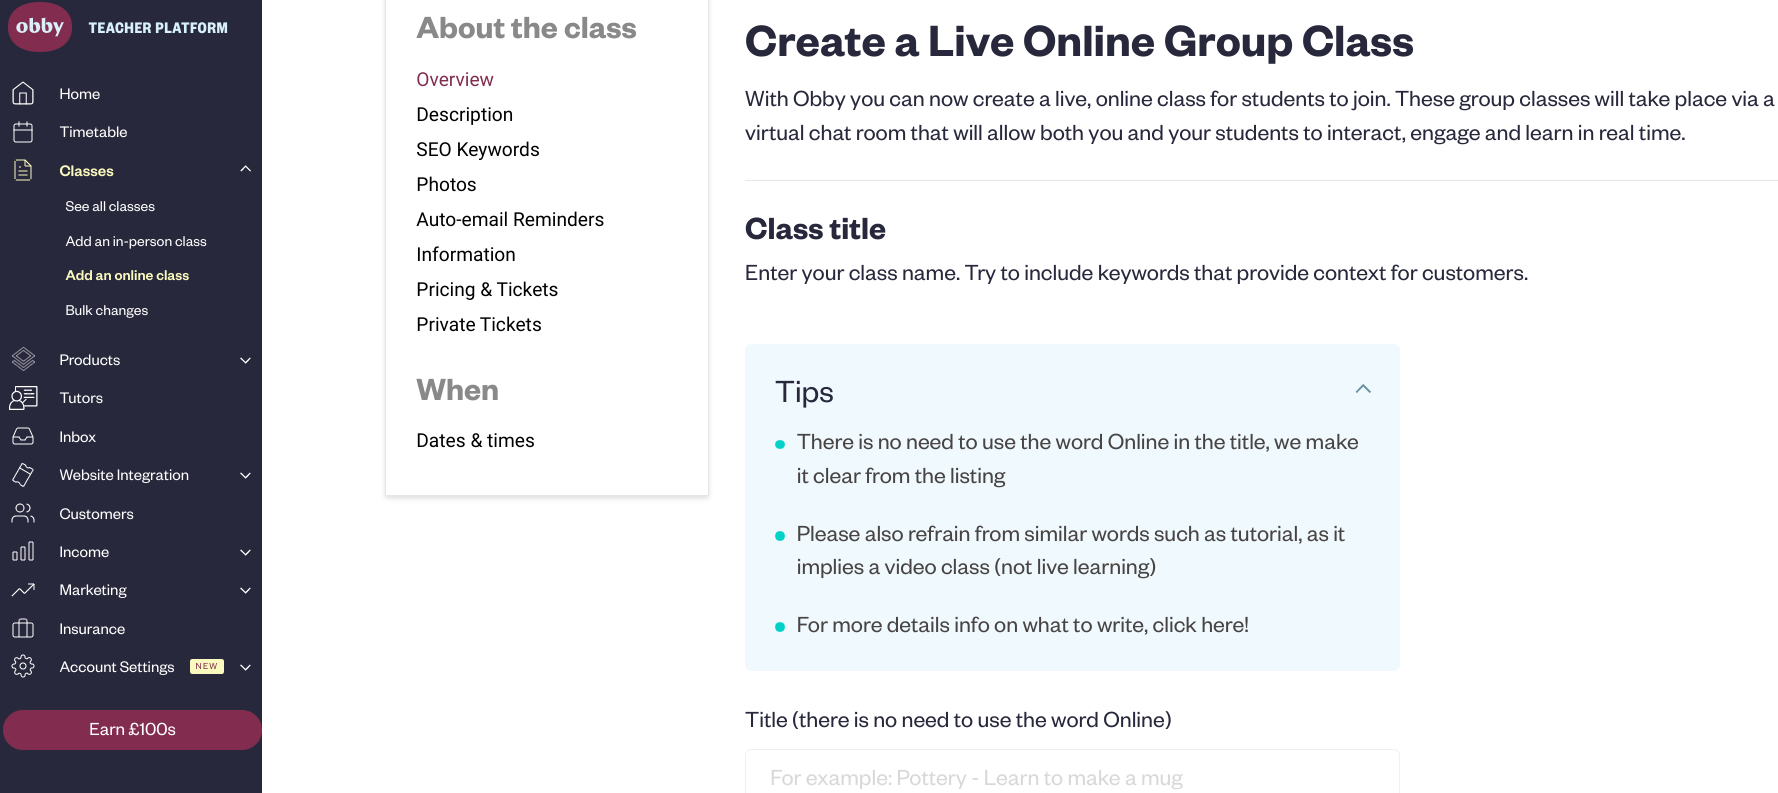
Once you have built your own customised website, Obby makes adding listings such as in-person and online classes as well as learning kits easy! On the dashboard, click the kind of class or product you would like to add and follow each simple step from the class description to the dates and times of the course.
4. Integrate with Marketing Tools
In order to reach your customers and grow your student base, you'll want to get to grips with marketing tools that help you to do so.
Using softwares like Mailchimp and Squarespace Email Campaigns are a great way to build your newsletter base and keep students updated on new classes and events. Squarespace also has some great SEO tools to help you reach the top of search engines quickly after launching your site.
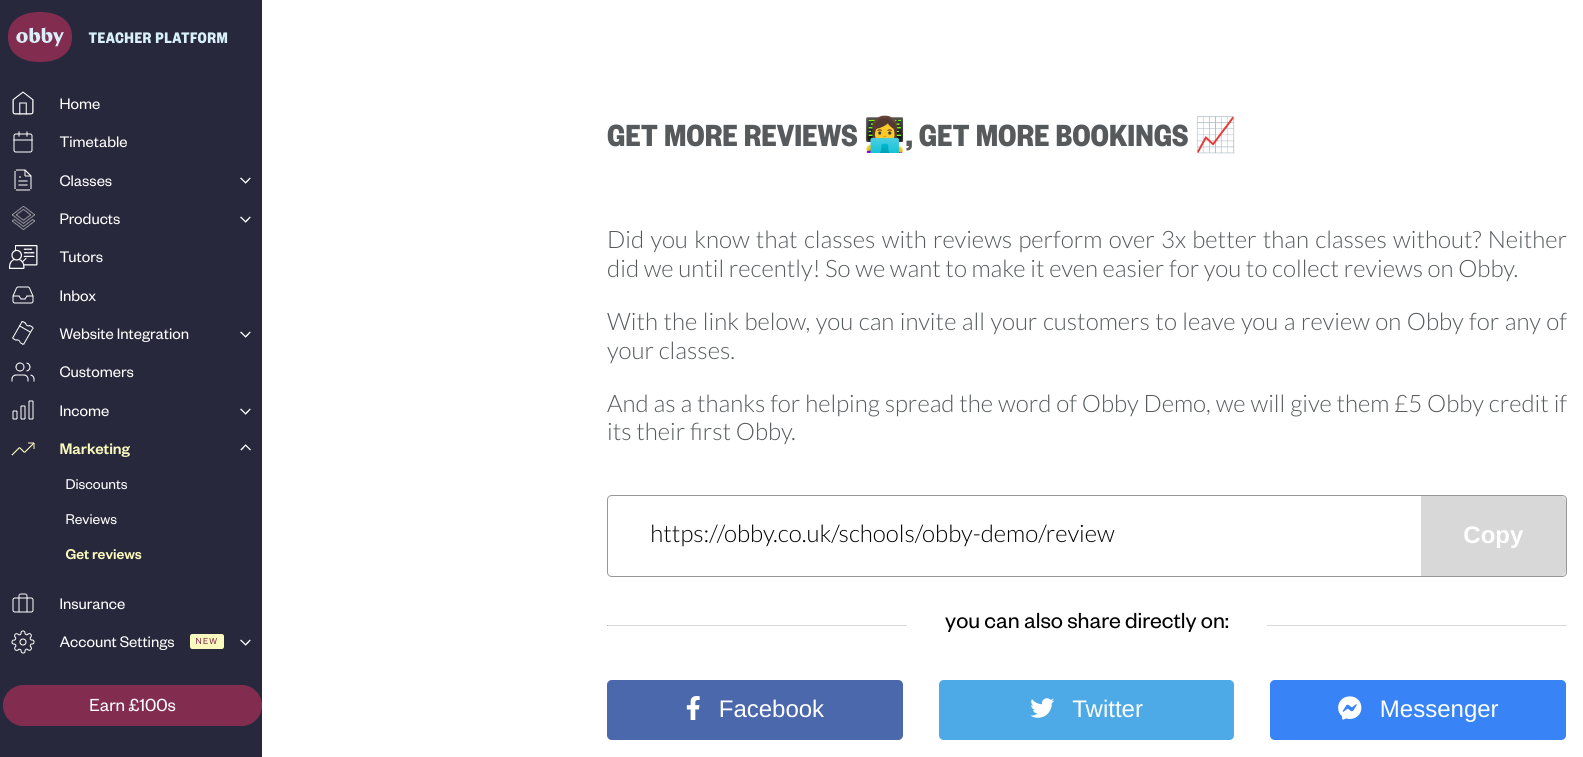
If you're new to having a website, but have been teaching for a while, you'll see great value in adding testimonials or reviews from previous students to your site. Obby has a great feature that allows you to send a link to past students to leave a review, and they get £5 credit to spend via Obby's marketplace in return. A win-win.
Social media presence is also key to building your brand online and making you more accessible. Most website builders, like Obby, can integrate with your social platforms, such as Instagram and Facebook, which helps to keep everything connected.
Obby has many features designed to help teachers market their classes. As well as prompting reviews from students, teachers can also create discounts, add SEO content to their class description and so much more.
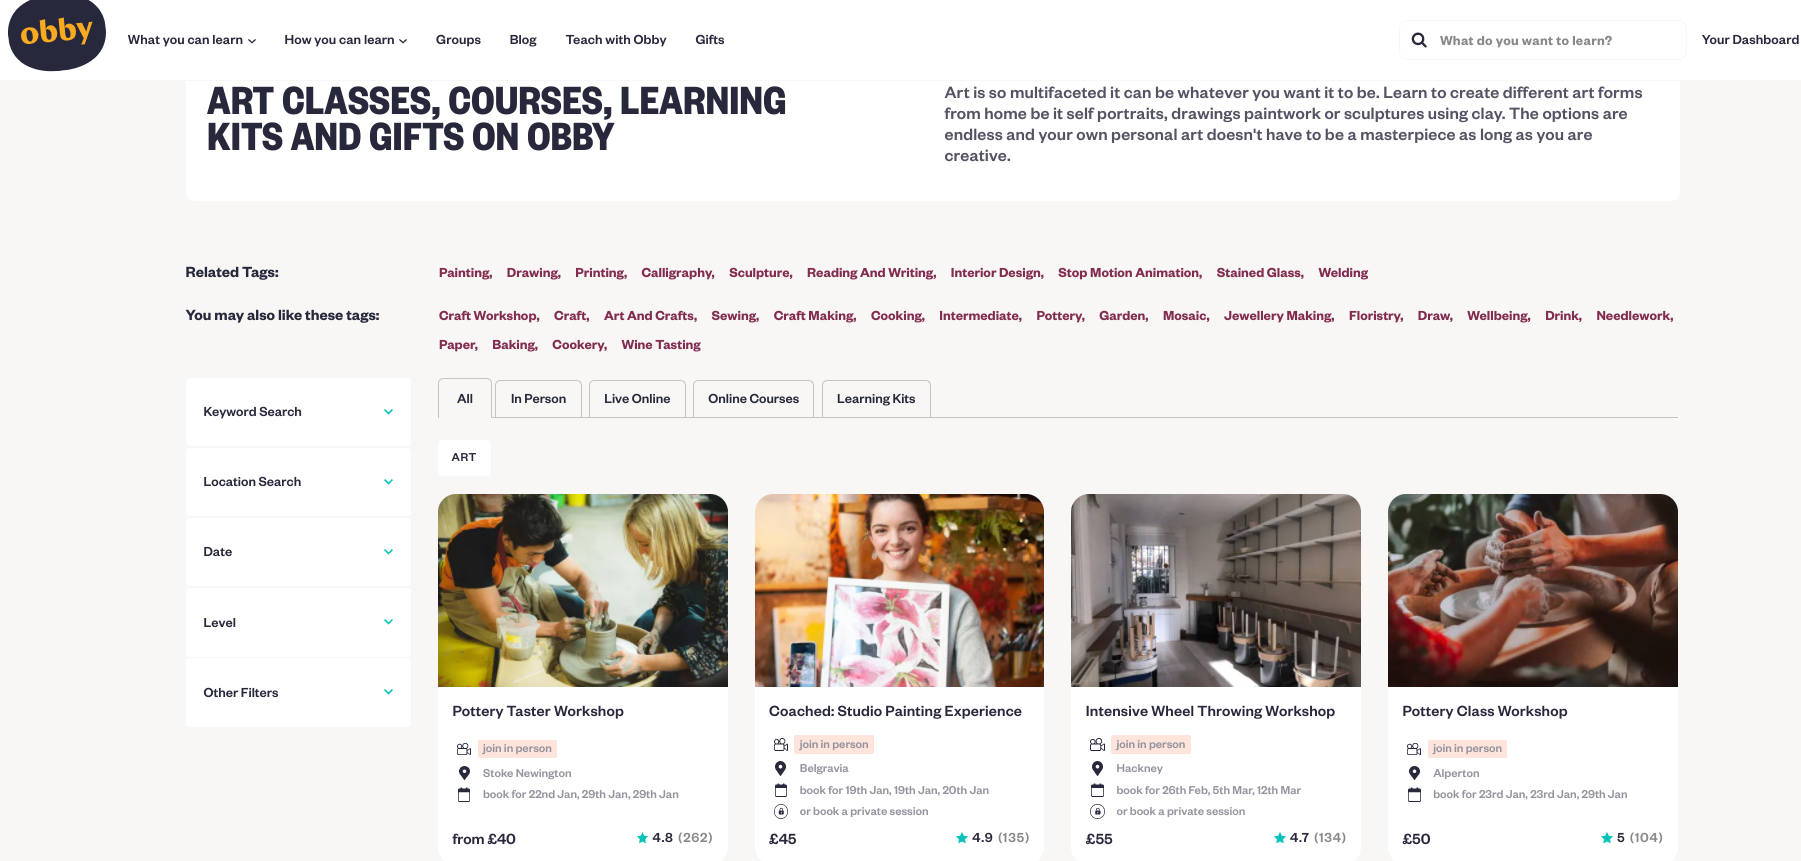
All teachers using Obby will have their classed listed on Obby's Marketplace which attracts a large audience of students. Obby has already helped over 50,000 students find and book the perfect class for them through the Marketplace!
5. Tell the World!
That's it, you're ready to tell the world about your teaching website!
Spread the word amongst, social media platforms, friends, family, your community and current students - you've got a brand new teaching website that helps you to look professional, experienced and trustworthy.
Using Obby means you can build your website, list your classes on Obby's Marketplace, organise availability, email students and so much more. So just sit back, relax, and wait for new customers to come to you!
Need More Teaching Advice?
Many teachers believe that building their own website is too time consuming and technical. However, these 5 simple steps debunk this idea and show just how simple building your own beautiful teaching website can be!
Obby believes that giving teachers the tools to build their own website is essential for helping teachers grow their business. Creating your own teaching website can have a significantly positive impact on your business. Not only can you refine your brand, you can also promote and list your fun, interactive and educational classes.
Thanks for reading our guide on how to build a Teaching Website. Need more great teaching tips? Review our related guides below:

