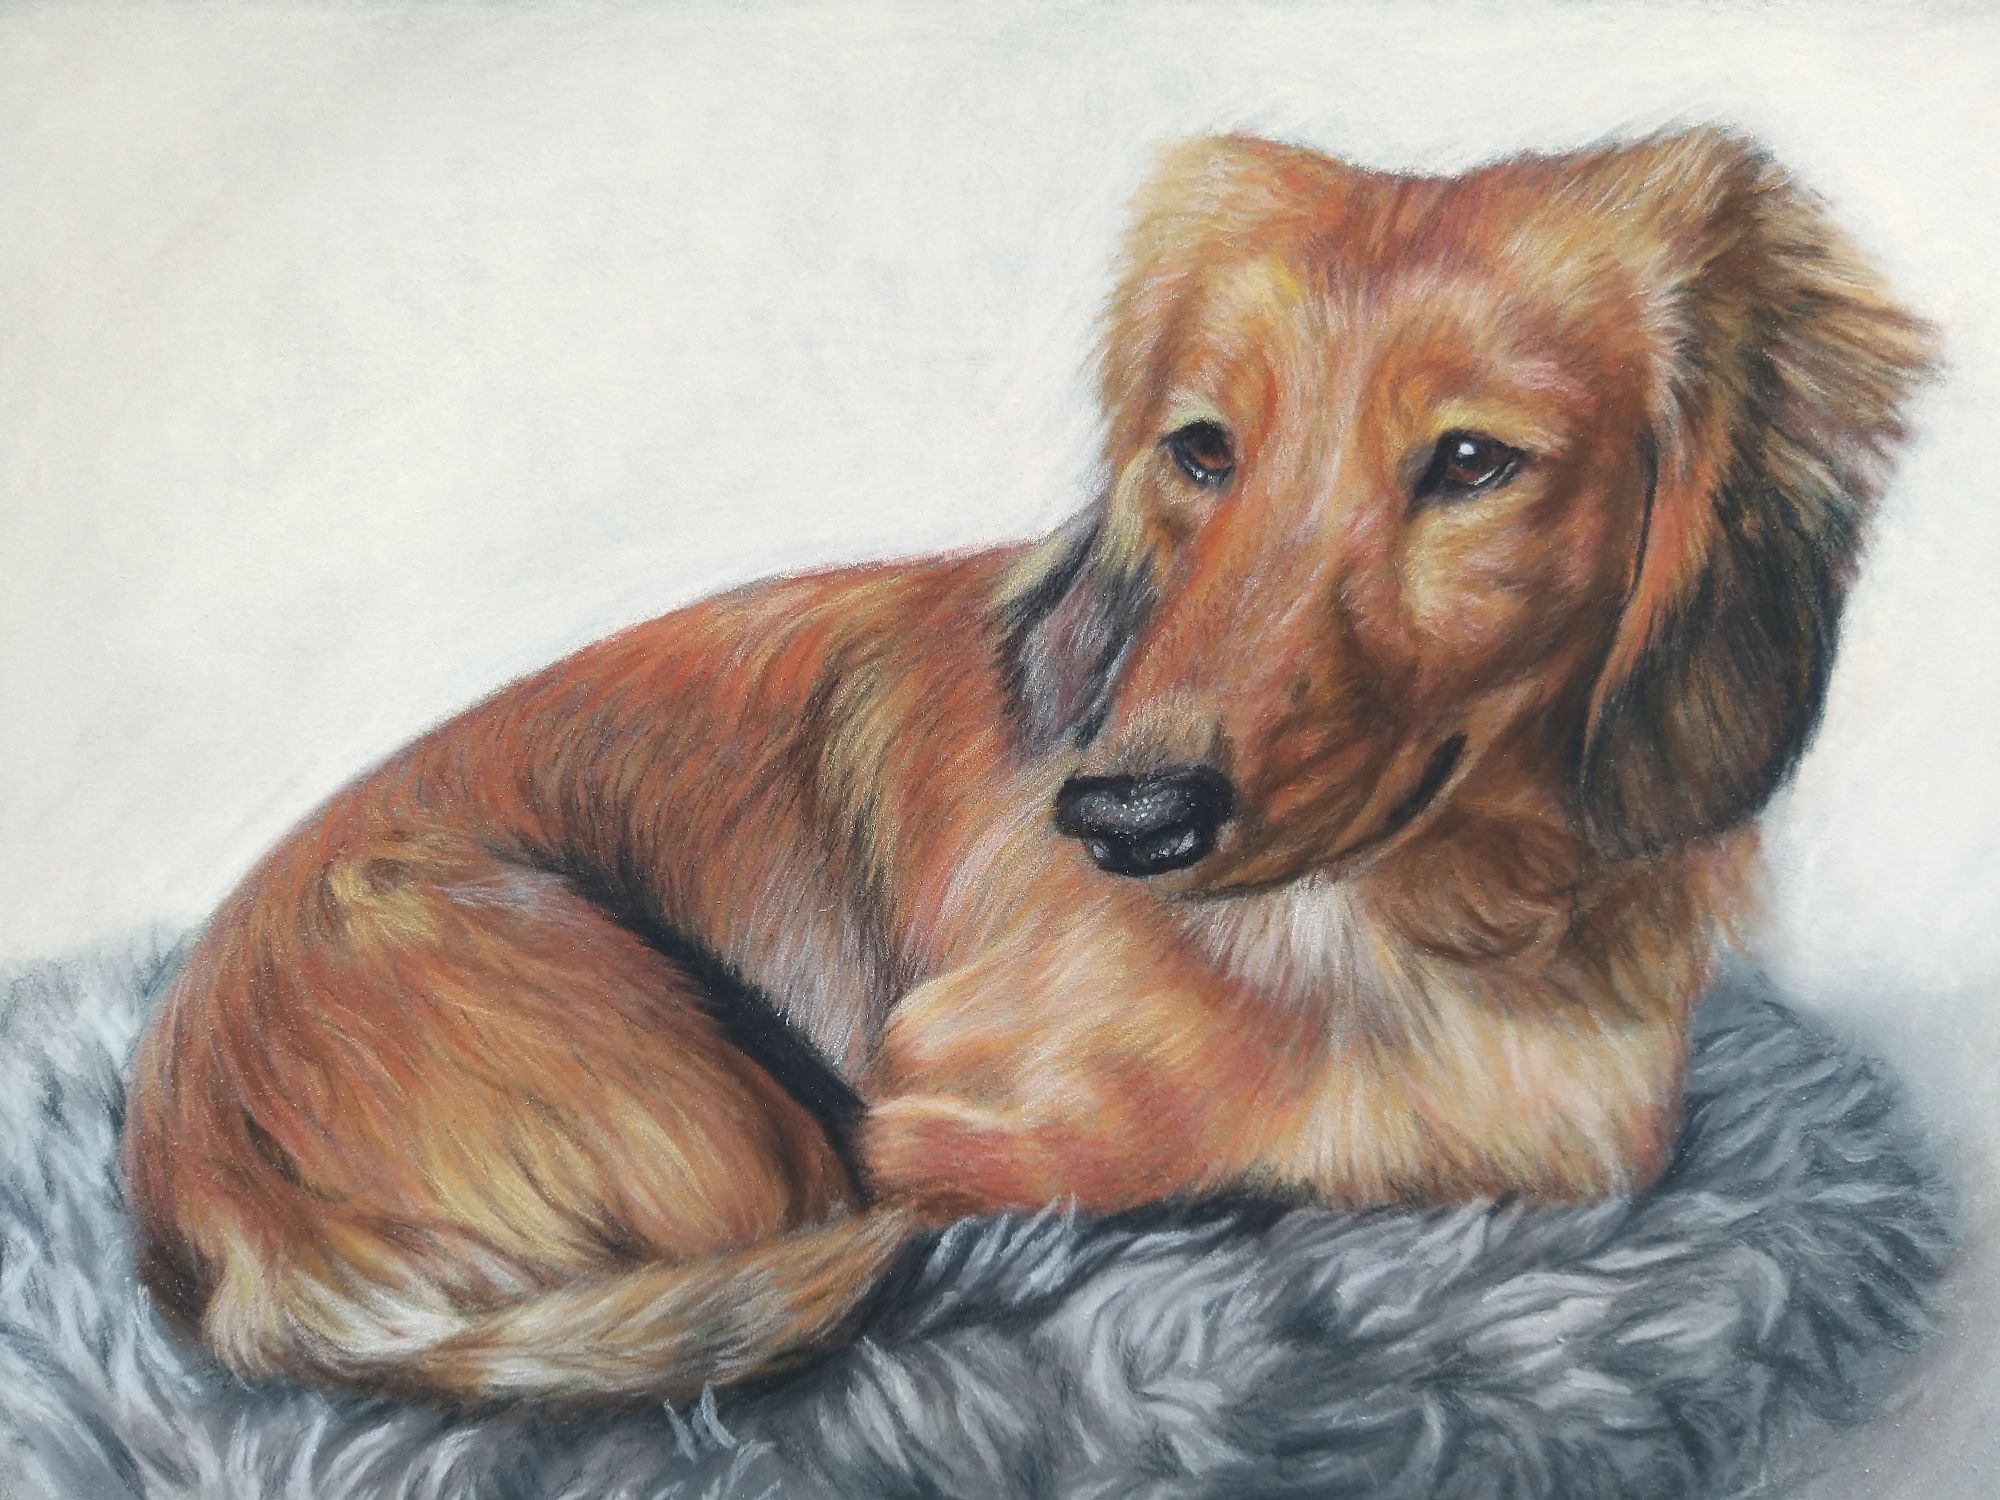
We know that your pet is more than just an animal, they’re a member of the family! That’s why we have partnered up with ArtistAnd to create this beginners step-by-step guide to drawing the perfect pet portrait. Whether you want to draw a portrait of your dog, puppy, cat or bunny, this guide will make it easy for you to create a realistic portrait of your furry friends.

China Jordan, founder of ArtistAnd

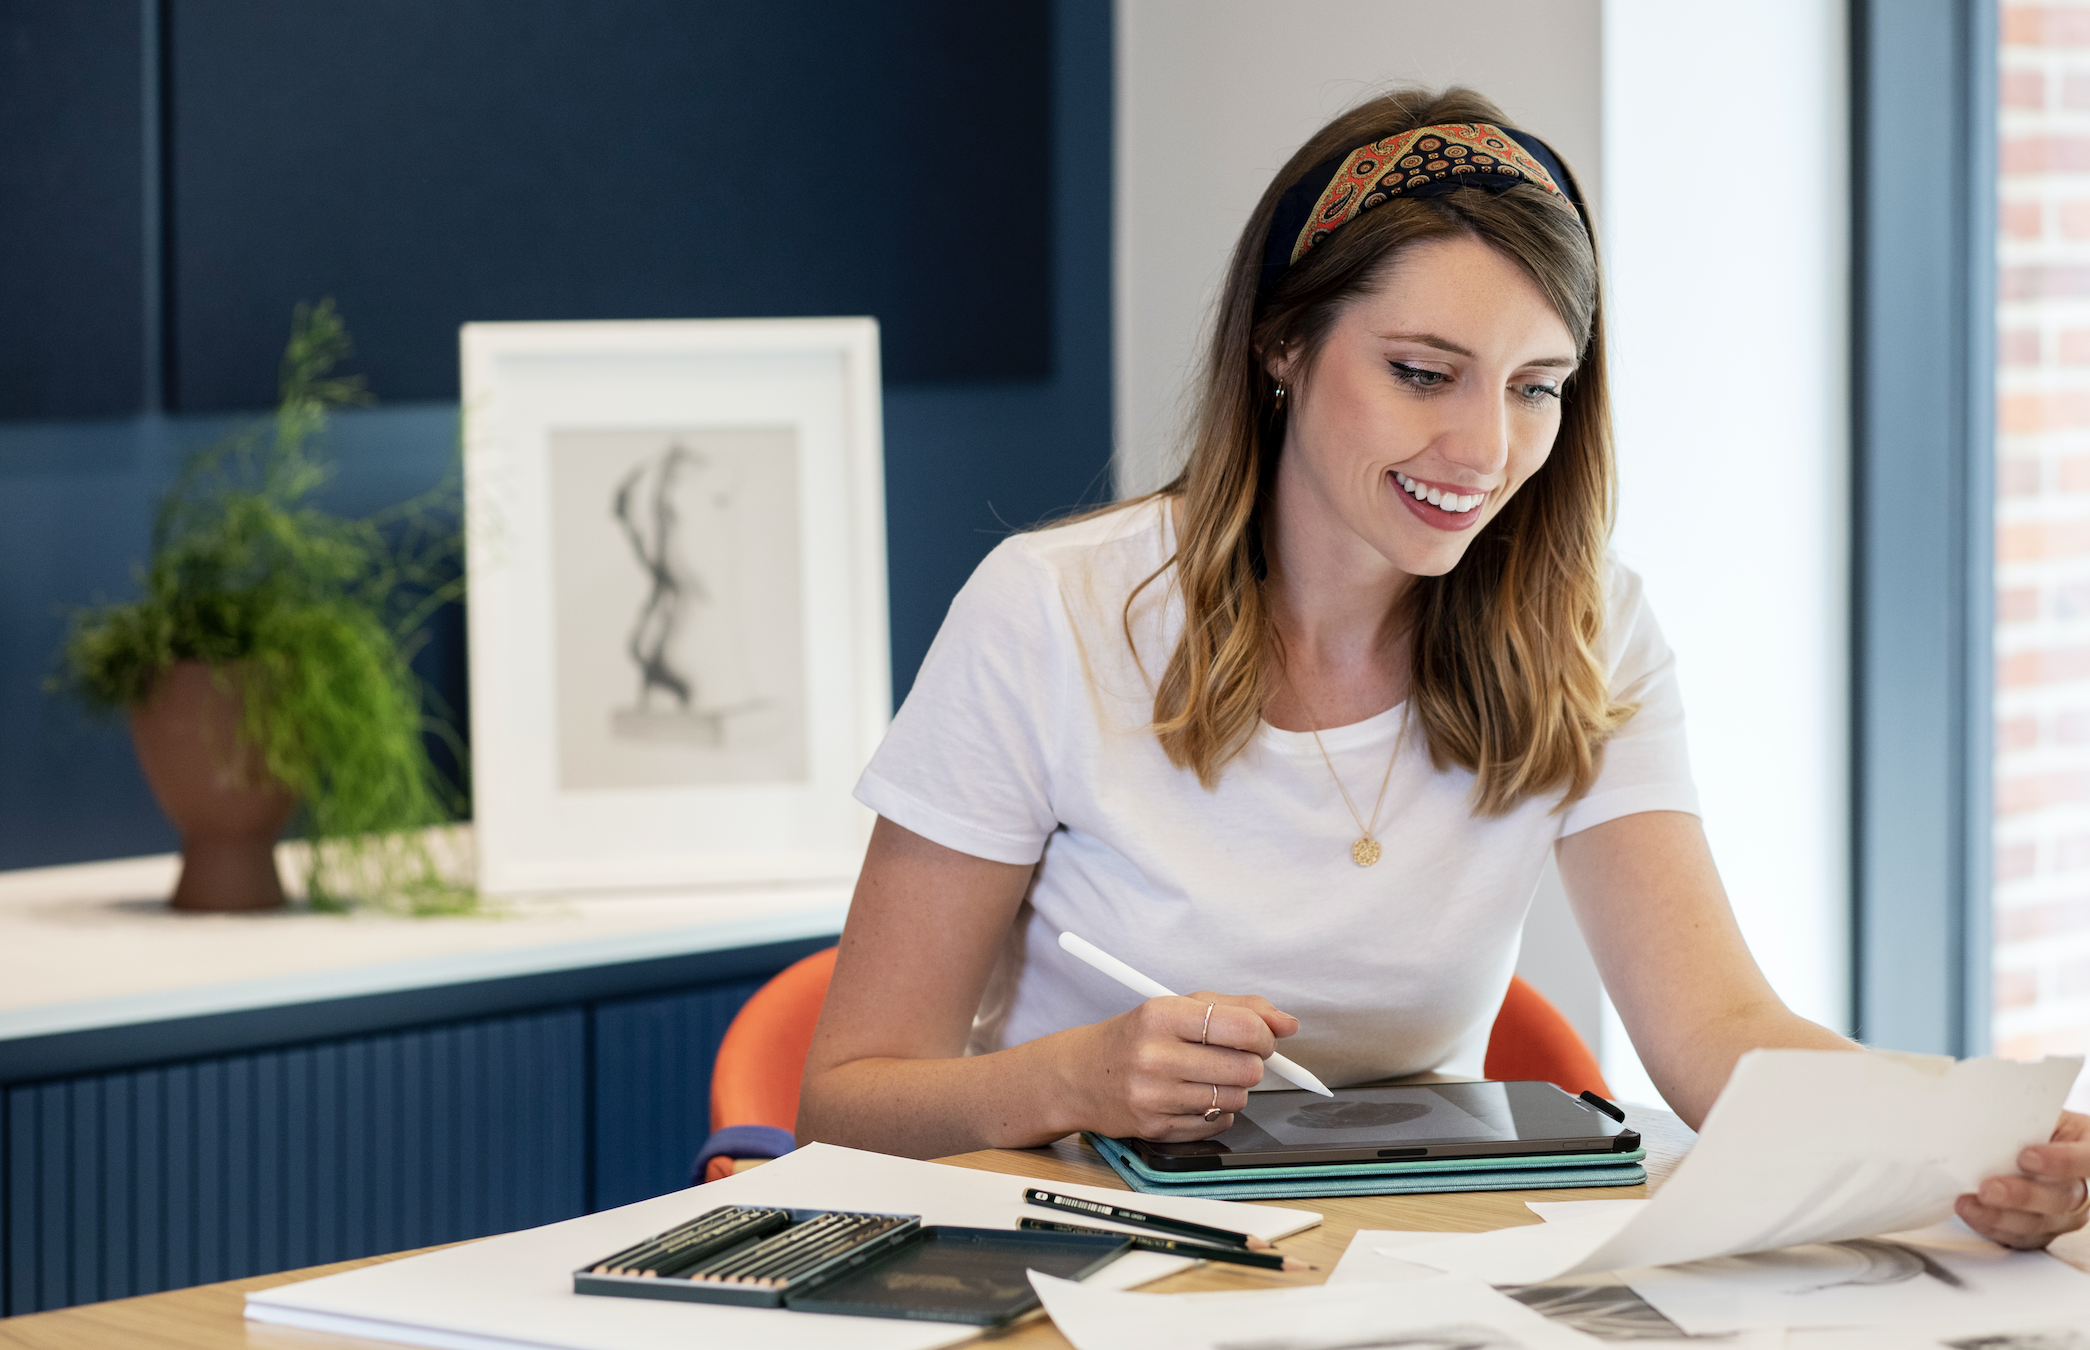
ArtistAnd was founded by China Jordan, a professional artist and talented teacher. Within their adult drawing classes, ArtistAnd aims to help beginners learn how to draw faces, figures, animals and so much more.

From at home learning kits to interactive online adult art classes, ArtistAnd helps beginners learn in a way that suits them!

Qries

We asked China to share some of her insightful expert knowledge in this step-by-step guide, so that beginners can learn how to draw their pet with the guidance of a professional artist!

Top 7 Steps for Learning How to Draw the Perfect Pet Portrait:

  1. Draw Your Outline
  2. Figure Out Your Light And Dark
  3. Add Local Colour
  4. Start To Work In Smaller Pockets
  5. Work On The Eyes
  6. Add The Fur
  7. The Whiskers

1. Draw Your Outline

Once you have identified which of your pets will be your muse, it's time to put pencil to paper! China suggests that the best way to get started with your portrait is to draw the outline,

'Try to get all of the proportions in this stage right so that the next part is much easier for you. It's best to spend as much time on this as possible until you are happy with it.'
Sketch the outline of your drawing

China has one tip for beginners to remember when drawing the outline of their portrait,

'Don't press too hard because you may find you need to tweak it later on!'

For beginners getting the outline of your portrait can seem like a very daunting process. However, that's the beauty of working with a pencil! This tool allows you to make changes and improvements to your outline, so don't worry if it isn't perfect.

One thing China urges everyone to remember through this process is,

'Drawings always look weird for the first 50 - 75% of the time.'

So if you're drawing doesn't quite resemble your pet yet, stay calm! It will all come together in the end!


2. Figure Out Your Light And Dark

Learn how to achieve a 3D effect

Next, China sets out how you can identify and add the light and dark aspects of your portrait,

'In this stage, you want to start to block in your values, and that means figuring out your light and dark. If something looks like a dark colour, pop a dark brown in, if something looks like a light colour, pop in a nice soft cream. This should be a good basis for creating a 3D effect by setting the values.'

As well as introducing light and dark features into your portrait, this step will also start to produce a 3D effect within your drawing.


3. Add Local Colour

Now it's time to add some colour! Once you have dug out your best colouring pencils, China shares how you can start to add colour to your portrait,

'We are working from big to small in these first stages, so once you've set your values of light and dark, you can start to add a local colour which means the general colour of that area.'
Add a touch of colour to your drawing 

Although adding colour into your portrait is exciting, China stresses that it's important to not get ahead of yourself in this step!

'Don't go overboard as we still need to add layers and add detail so try to refrain from looking at the fine details. We just want to set the colour.'

4. Start To Work In Smaller Pockets

Focus on the smaller details

Let's get down to the details and adornments that make your pet unique! Next, China will enlighten you to valuable techniques that will help you focus on specific details, textures and colours.

'Once your colours are set, you'll start looking closer at the details (but not to the whiskers level)! You may notice that the big area of golden brown is actually broken up into little pockets of olive green, or warmer tones of orange. This will prepare you for the details that are coming.'

Working in smaller sections gives you the opportunity to find small yet beautiful details that might have gone unnoticed if you skipped this step!


5. Work On The Eyes

If you have limited experience when it comes to portrait drawing, this step can seem quite intimidating!

'Eyes are super important, and we want to get a lot of the work done before we focus on them, which we have! Now you can really start to finalise the eyes and see how dark they are (usually for dogs).'
Create striking and realistic eyes 

As well as capturing the depth and dark colours within the eyes of your portrait, it is also important to show light and reflection in your pets eyes.

'Try to complete these and get the reflection in the best possible place. Reflections are everything in eyes for animals and humans!'

6. Add The Fur

Discover how to add fur to your portrait

Now it's time to draw your attention to the fur in your portrait. One common mistake beginners make is they attempt to draw all of the animal instead of just focusing on the features that are in view,

'Here you can start to look at the direction of the fur and you might notice that you can see some of the hairs, and in other areas you can't see it. If you can't see the fur on the photograph - don't draw it!'

As China has outlined, whether you are drawing a portrait of a human or an animal, it is important to only draw what you can see. Taking this approach will ensure that your portrait is more realistic and professional looking.

'Play around with colours and try not to over do it. This can make your drawing look flat and smooth.'

As well as encouraging beginners to experiment with colours, China also urges you to be cautious with how you incorporate colours into your portrait.


7. The Whiskers

Find the right placement for whiskers

Adding the whiskers is the final and possibly most exciting step in the process of drawing your very own pet portrait.

'Don't touch these until the very end. You'd hate to of put them in and then realised you've made a mistake. These are usually the thing closest to us as a viewer, so leave them to the very last minute. This will be the final part of the drawing so use it as something to look forward to!'

Waiting until your drawing is almost complete gives you a clearer perspective on where the whiskers belong on your portrait. That's why even though you may be excited to draw this feature, it is essential that you add the whiskers last.


Workshops with ArtistAnd

Designed with beginners in mind, workshops with ArtistAnd are the best place for those with little drawing experience to build their skills.

Within their adult drawing class beginners can master anything from sketching and shading to drawing faces and animals and so much more!

Want to learn in your own time? ArtistAnd also offers comprehensive at home learning kits with all of the materials and guidance you need to learn whenever and wherever you're feeling inspired.

ArtistAnd aims to enlighten beginners to the creative and rewarding experience of learning how to paint and draw. One piece of advice she often reminds beginners is,

'Have patience, and keep on going. Remember you weren't born an expert, but if you keep on practising then you will get there.'

As well as teaching students new techniques and skills, workshops with ArtistAnd also aim to inspire students to keep going. After all, practise makes perfect and even Van Gogh had to put the work in to create his masterpiece The Starry Night!

So what are you waiting for? Whether you want to draw realistic animals or still life drawings, explore interactive art classes with ArtistAnd.

Book classes with ArtistAnd on Obby


Need more advice?

Master drawing colourful fur of different textures as well as every aspect of your pets face. From drawing dogs and puppies to cats, horses and bunnies, no matter what pet you have, we hope this step-by-step guide will help you create cute and realistic portraits of your pets!

Take a read of some of our other amazing guides and best round ups below. We're sure you'll find something useful, oh - and don't forget to share the love.