


Obby Projects are a series of quick DIY recipes, craft ideas and DIY projects that you can complete at home. Written by our teachers or customers, this month's is from Kate Marsden from Creative Happy London and she shows us how to make a simple 'Snazzy Peg Bag.' Perfect for the summer season! Kate Marsden, the face behind school Made by Mrs M is a tutor as part of the artist collective Creative Happy London. They are a group of teachers who all teach from the same studios with the same goal in mind. They are all keen to pass on their skills to others and believe in keeping the older and more intricate, forgotten crafts revived. So, with no further introduction necessary, we give the stage to Kate to bring her brilliant little project!
I recently bought a new peg bag as my old one was disintegrating after 15 years of use. Someone told me I should've made my own but I pleaded lack of time. However, as my old bag had a rather lovely wooden hanger inside I thought I'd make one anyway and put that to use!
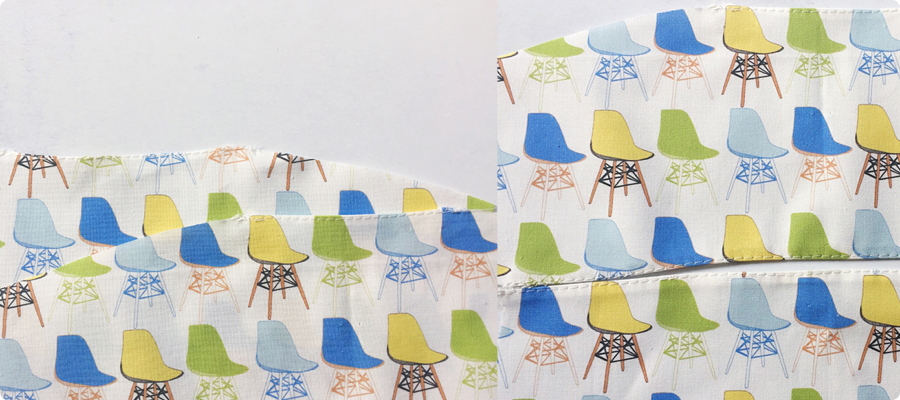
So here it is. Made with my Dining Chairs fabric, I think it looks rather good.
You will need:
- Wooden coat hanger (preferably shaped like the one shown above)
- 1 x Fat Quarter of my Dining Chairs fabric - if you choose to use a different fabric make sure it measures at least 50cm deep by 75cm wide.
- Thread, pins, scissors, sewing machine, iron and ironing board.
- Pattern - available to download here.
Total Cost - £9 (plus coat hanger and thread).
Method
Step 1:
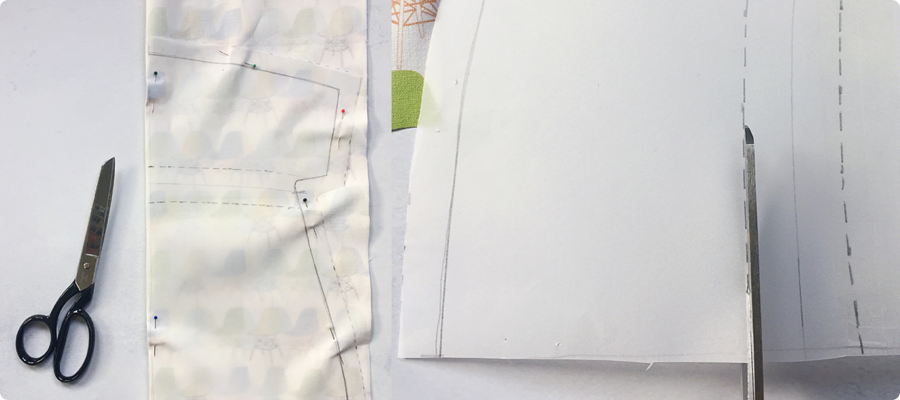
Print your downloaded pattern pieces out onto A4 paper at full size - tape together and then cut out along the dotted line.
Step 2:
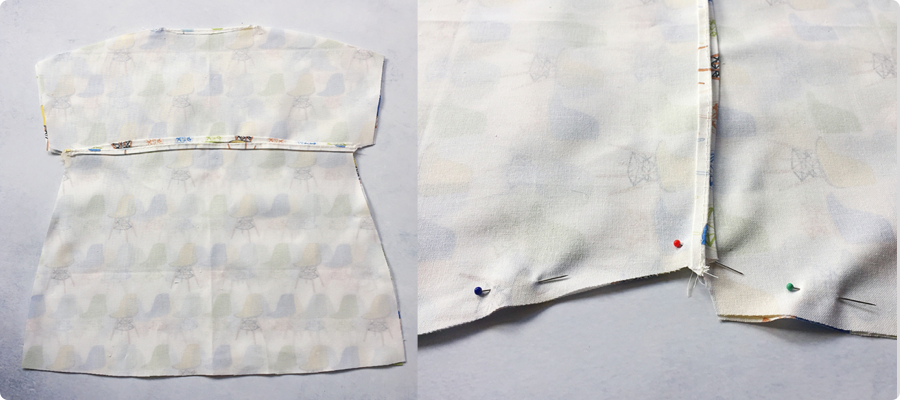
Fold your fabric and pin the pattern to it on the fold (I cut my fabric into two pieces first - each measuring 50cm high by 37.5cm wide. Then cut out.
Step 3:
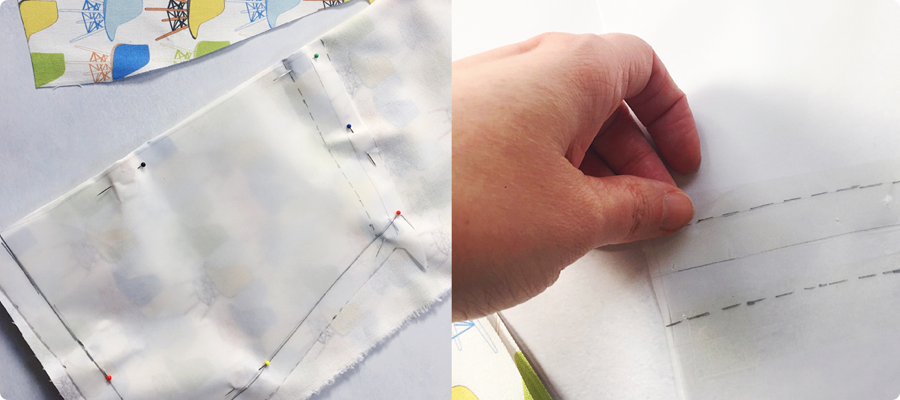
Once you've cut your fabric out, remove the pattern and cut it across the middle on either one of the dotted lines as shown. Cut this piece on the fold.
Step 4:
Remove the pattern from the fabric, sellotape the two pattern pieces together and then cut along the other dotted line. Cut this piece out on the fold as well.
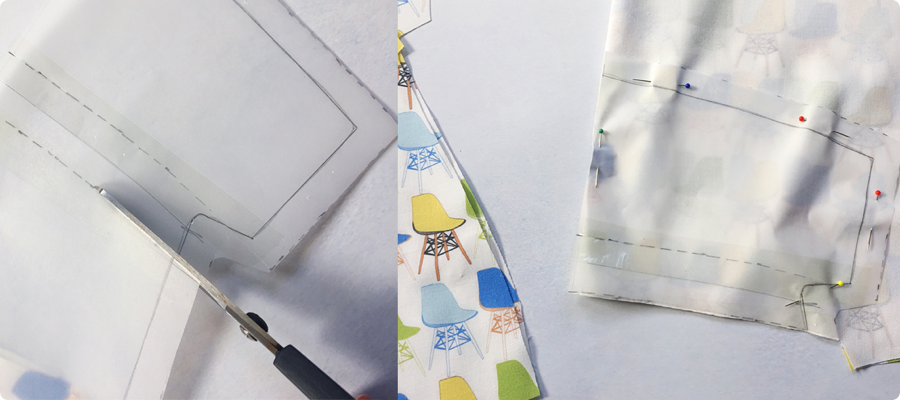
You should now have a piece that looks like this
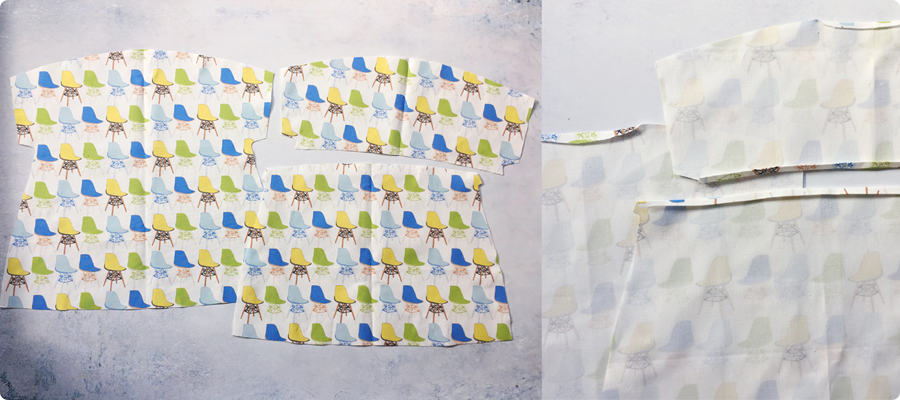
Step 7:
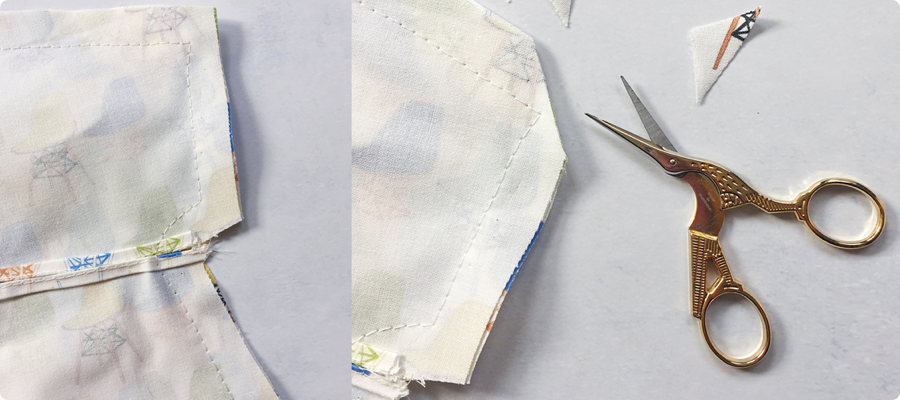
Press all three pieces and then fold in the edges of the front opening by approximately 3/4mm. Fold again to hide the raw edge and press. Do the same with the centre top of both sides as shown below (this is where the neck of the coat hanger will sit).
Step 8:
Topstitch all of these folds in place as close to the edge as you can.
Step 9:
Trim your threads then place the pieces right side together. Pin and stitch from neck opening to neck opening, ensuring you leave plenty of space to insert the coat hanger.
Step 10:
Trim the corners then turn the bag out to the right side.
Step 11:
Give it a good press, insert the coat hanger and you're done!
Here are the pattern downloads I used - ensure you print them at full size. They can be downloaded here.
Happy making! To see the full range of Made by Mrs M's classes as part of the Creative Happy London schedule, click to see their timetable, or you can jump straight to Kate's class here